This page features multiple different designs and projects that I have done with Fusion360. Some are manufacturing oriented and feature molds. Some are practice. And some are for fun! Below, you will find sections for each project or design with some explanation of how I completed each. A few will have links to Youtube where I briefly show you a project through a video.
This is a project that I completed my Junior year of college as an exercise for my product development class. We were given a LEGO set and some calipers and told, "Make this LEGO set in Fusion360, you have three weeks."

My first course of action was to measure every part and take note of any standard dimensions. I found that the original 4x4 block had a side length of 16.0 mm and a height of 9.6 mm. These standardized dimensions guided my intuition for developing the other unique parts.
Next, I generated every unique part in its own instance of Fusion. This way, each part could be imported into an assembly as many times as necessary. The methods used for generating all of the parts varied widely. Some were simple, and some were not. I took pride in including details, such as ribbing and space fillers, that would be necessary for them to work in the real world. The extra details made it much easier for me to assemble the pieces when that time came.
Lastly, I completed the digital assembly of my LEGO train. I followed the directions booklet that came with the LEGO set, except I completed it in Fusion360! It was very satisfying to see the whole picture come together. I used many different joint methods to assemble the parts. I used face-face joints and edge joints the most. Some parts of the assembly were tricky and required some manual moving after using the joint function to align the parts.
For my final project in Manufacturing Processes, I was required to make two injection molds. One mold needed to be a mold with 3 sliders and the other needed to make two parts at once. Both needed to include ejector pins, runners, and gates. The two molds can be viewed below.
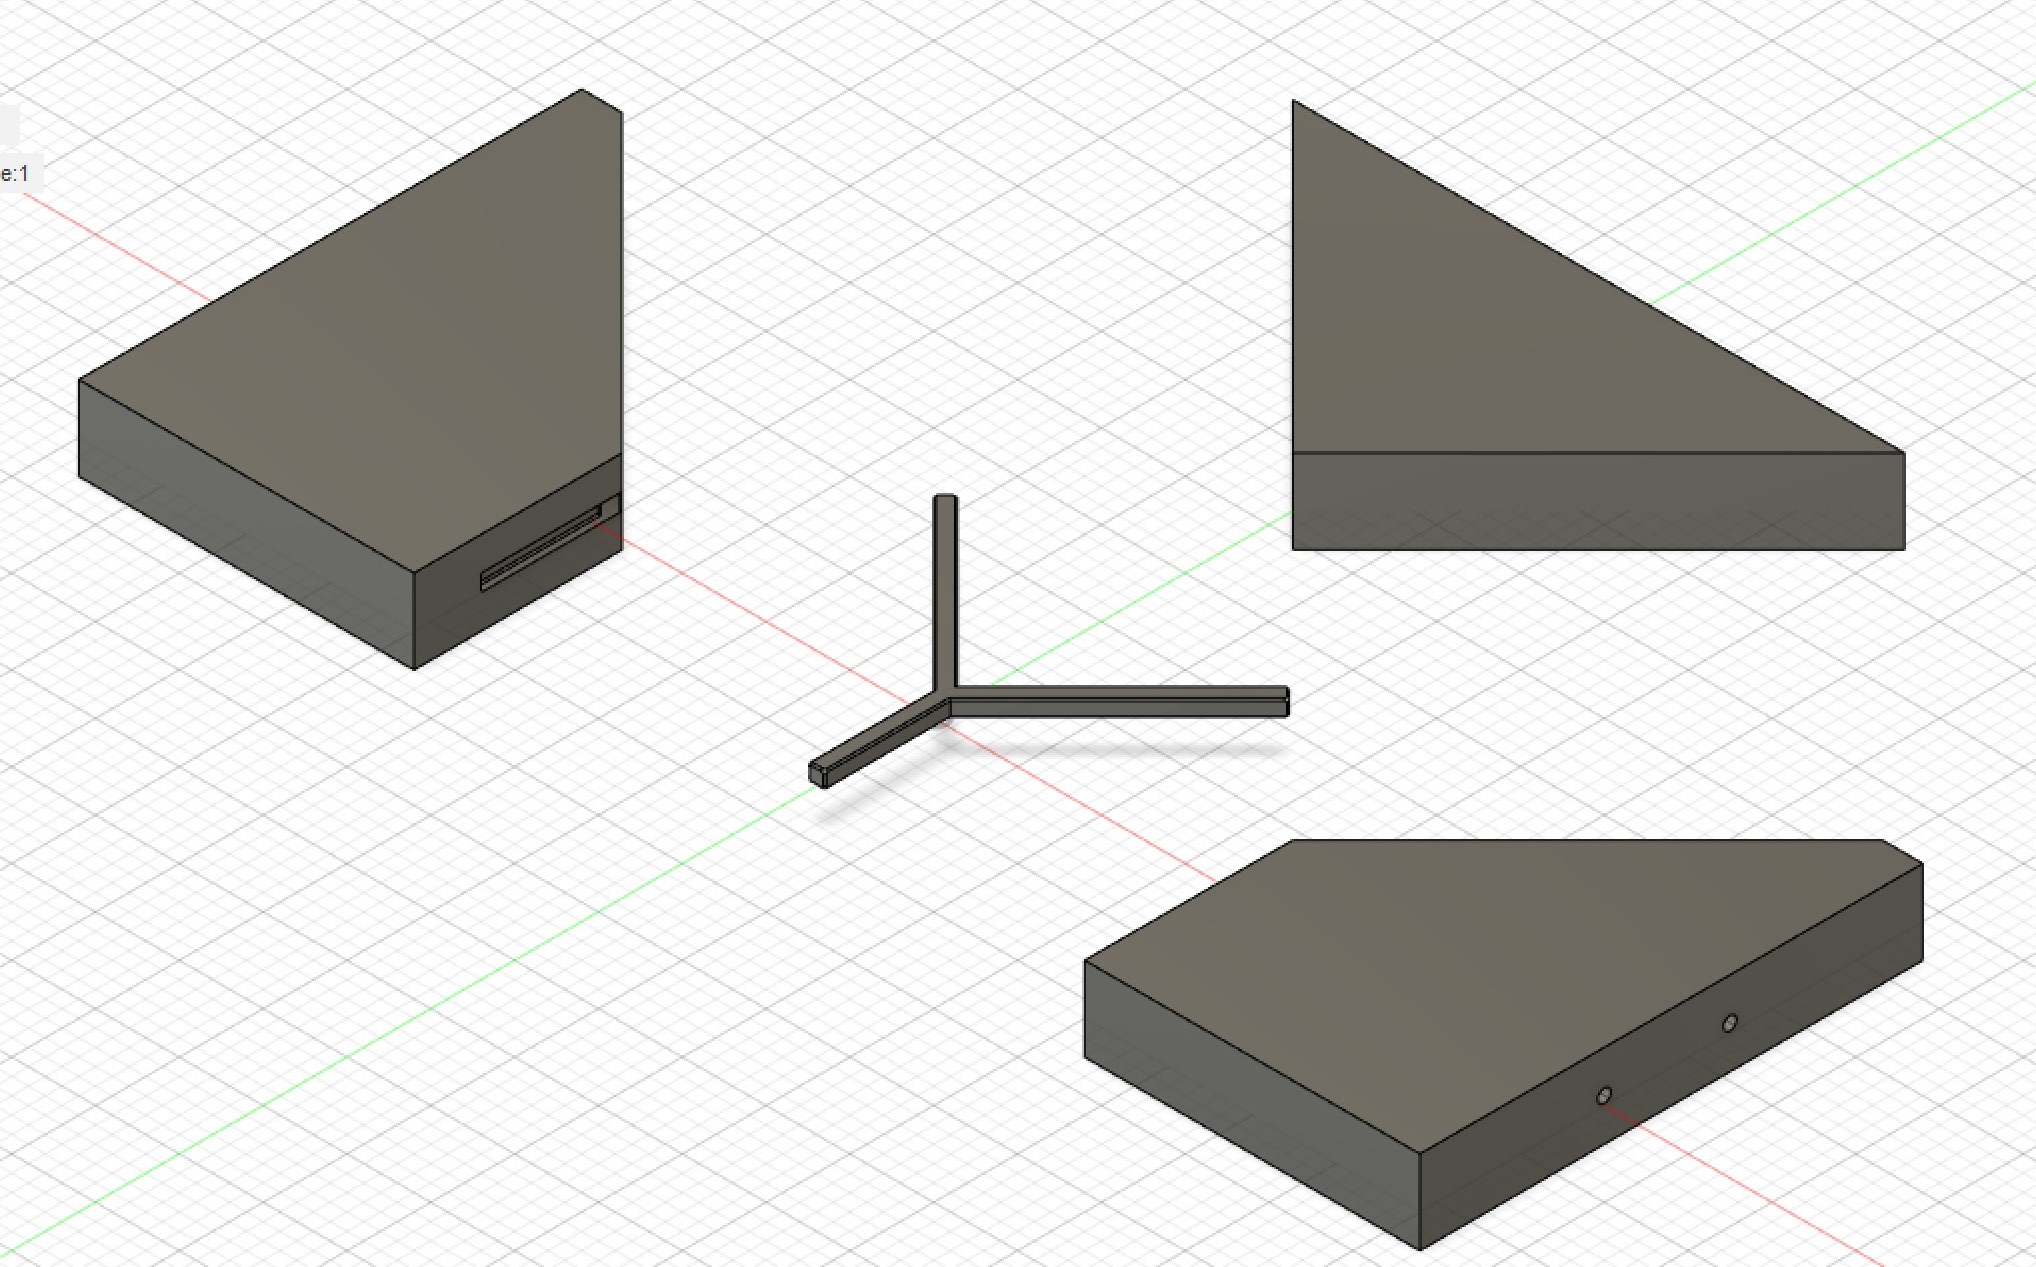
Above is the 3 slider mold. The body at the center was constructed first and then cut out of the other existing bodies. The center slider is necessary to accommodate the interior of the Y shape.
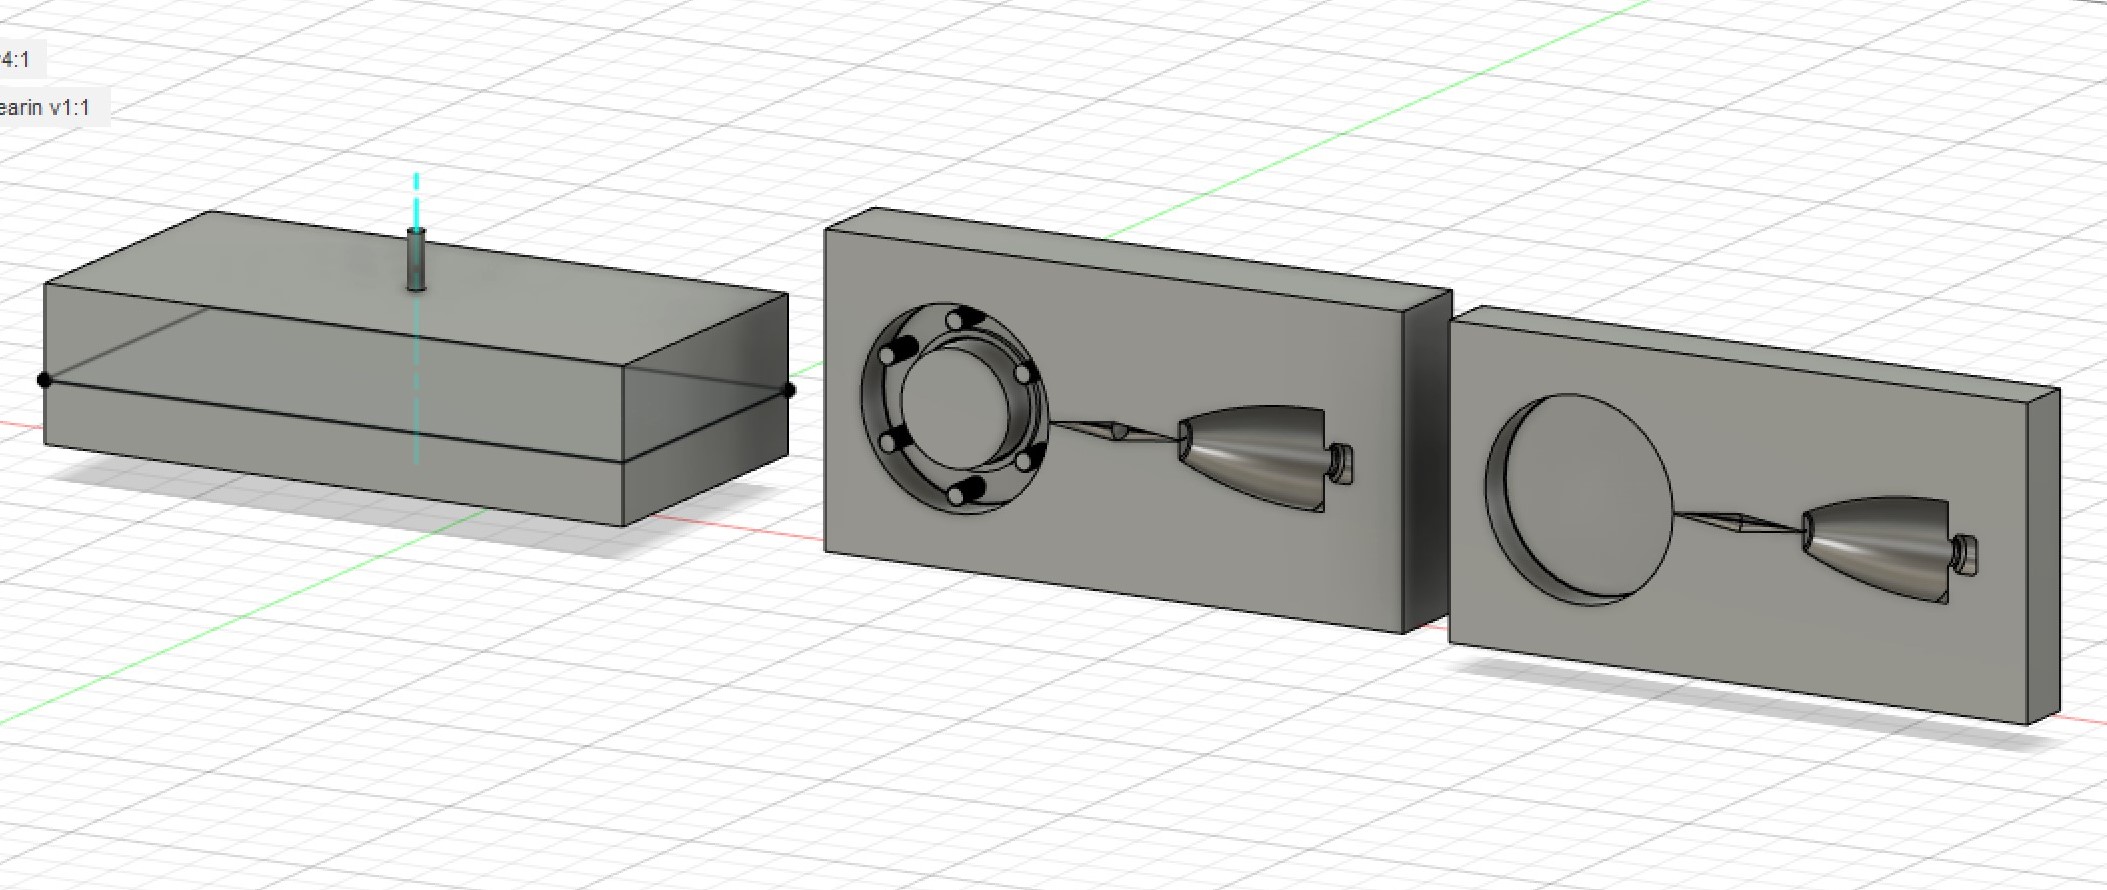
Above is the two part mold. This one is much more sophisticated, because it requires a split runner system in addition to gates. Note that the split for this mold splits the gate tube in half. This is bad practice because it makes it hard to regulate the injection material. However, I split the mold in this way to display the gate system which required the use of drafting, a more advance feature of Fusion360.
This was a project was a midterm for one of my classes. This design was incredibly difficult to generate because of it's unique shape and multiple layers.
I ran into issues generating chamfers and fillets on the design because of the multi-face meshes that Fusion360 generated to account for the curves of the spinner. Additionally, because of the nature of radial curves in Fusion, I could not use the shrink tool normally to generate the layers of the spinner. However, once I finished this project, I was very proud of it. It was an incredibly complex process, but so rewarding.